Are you thinking about how to thoroughly clean tall beer glasses and bottles without running them through the dishwasher? While some glasses have printing on them that will come off in a dishwasher, some water bottles aren’t dishwasher-safe. You are at the right place.
This article is about a glass rinser and its installation in your kitchen. Glass rinser is a sprayer that cleans the interiors of glasses and bottles more than a dishwasher can. You might want to think about investing in a glass rinser.
You can get the best quality of glass rinser from Amazon.com, which is a selling platform from where you can buy it and many more things of your interest.
Installation of Glass Rinser
The easy installation of the glass rinser is a significant benefit. You don't need a special kitchen faucet or sink to utilize this accessory; it can be placed in almost all kitchen sinks. To attach your rinser, you only need a spare installation hole next to your faucet.Because of this, this item works well with sinks or single-handle faucets that have holes for a sprayer or a soap dispenser. If you don’t have a spare installation hole, you might need to drill another hole.
Instructions to Install Glass Rinser
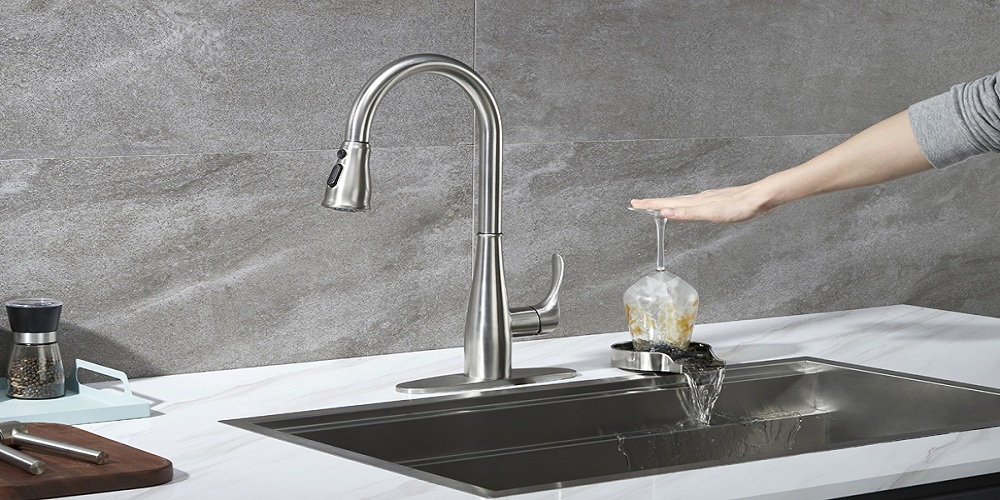
Here is the complete procedure to install a glass washer you can follow:- Placement of pure plate
- A stainless plate should be placed on the glass rinser valve body.
- A small uncontaminated spray head should be added to the hole and tightly tightened with two wrenches.
- Install the entire glass rinser into the glass rinse station you are working on by placing a rubber sealant washer on the threaded portion.
- Under the base of the glass rinse station, push the second rubber sealant washer.
- Attach the thin white plastic washer and brass locknut, and then tighten them appropriately.
- Attach the plastic straight water line connector on the threaded section and tighten it appropriately. For this fitment, there is no need for thread sealant.
- The fitting should be filled with a 3/8" ID water line feed. To secure, slip the red plastic locking ring between the two shades of gray. Check for leaks after turning on the water source.
- A 3/8" ID water line feed should be inserted into the elbow fitting before securing it by sliding the red plastic locking ring between the two shades of gray.
- Check for leaks after turning on the water source.
Final Thoughts
We're thrilled about smarter kitchen improvements than just glass rinsers. Another practical approach to optimizing your kitchen is the flood of cutting-edge cabinet organizers, such as in-between cabinet pull-outs and blind corner optimizers. Additionally, more and more kitchens are incorporating sophisticated touchless and voice control faucets.You’re prepared to maximize your kitchen. Amazon a house of skilled interior designer’s products can help you get the most out of any project, whether you want to upgrade with innovative home technology, change the layout of your kitchen, or add extra cabinet organization.